So, you’ve just invested in a shiny new fridge freezer. High five! That’s a serious step towards culinary adventure and perfectly chilled beverages. But wait, what’s this? A little tube dangling from the back? Yep, that’s your ticket to a world of ice-cold water on demand and perfectly formed ice cubes without ever having to wrestle with a soggy ice tray again. Welcome to the magical realm of plumbing your fridge freezer!
Now, I know what some of you might be thinking. "Plumbing? Isn't that, like, super complicated? Spanners, leaks, water everywhere? Oh dear!" Relax, deep breaths. This isn't about becoming a master plumber overnight. Think of it more like connecting a really important Lego piece. We're talking about a simple, straightforward process that can actually make your life easier and, dare I say, a little more fun!
Why Bother Plumbing Your Fridge? It’s Like a Mini-Superpower!
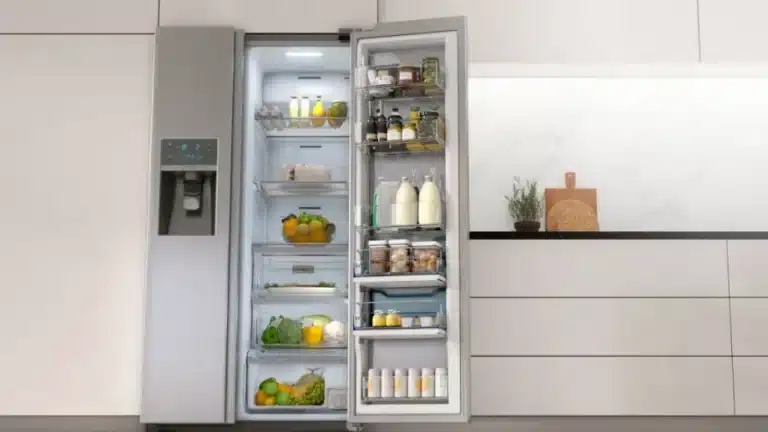
Let's be honest, who doesn't love instant cold water? Imagine this: you're mid-workout, you're sweating, you're a little parched, and bam! – perfectly chilled water comes flowing out of your fridge door. No more rummaging for that lukewarm bottle in the back. Or how about entertaining? Guests arrive, and you can effortlessly whip up ice-cold drinks, looking like a total hosting pro. Your ice maker, working tirelessly, churning out cubes like a tiny, frosty factory.
And let's not forget the sheer joy of never having to fill an ice tray again. Seriously, it’s the little things, right? No more spilling water all over the floor, no more struggling to pry out stubborn cubes. Just a constant, reliable supply of frosty goodness. It’s a small upgrade, but it brings a surprising amount of daily satisfaction. It’s like unlocking a secret level in your kitchen!
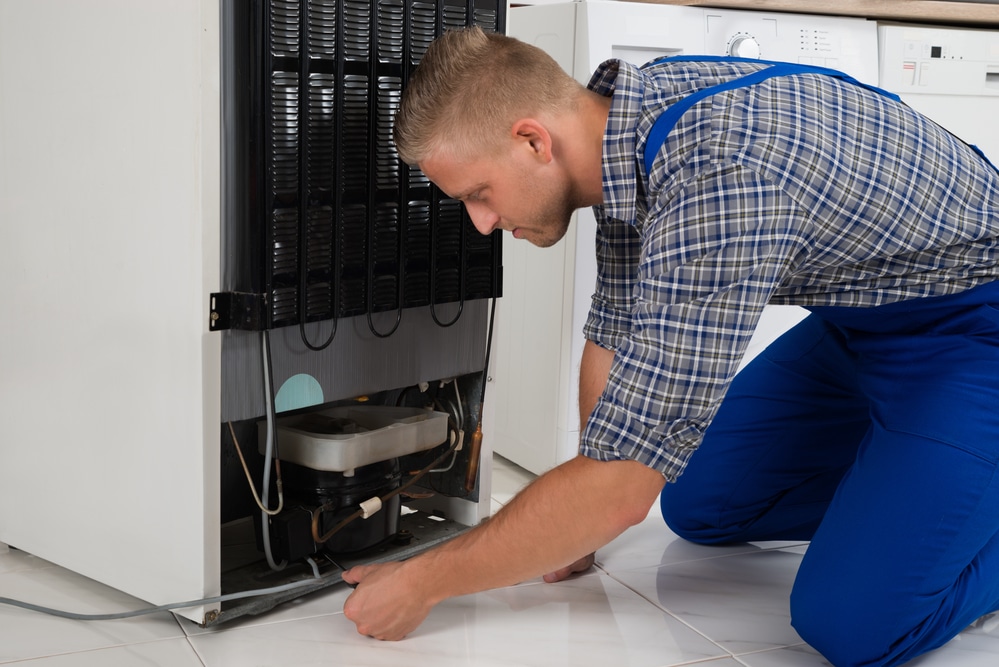
Getting Prepared: Your Plumbing Toolkit (Don't Panic!)
Okay, let’s get down to business. What do you actually need? Usually, your fridge will come with a basic plumbing kit. If not, don't fret. You'll likely need a water supply line (this is the flexible tube that connects your fridge to your water source), a saddle valve or a tee valve (this is what taps into your existing water pipe), and a few connectors. Most kits are pretty standard, so you can usually find replacements at your local hardware store if needed.
You might also want a pair of adjustable wrenches, some thread seal tape (also known as Teflon tape – a little white tape that helps create a watertight seal), and perhaps a utility knife or sharp scissors for cutting the water line to the right length. That’s it! See? No need for a full toolbox of obscure plumbing gadgets. We’re keeping it simple and effective.
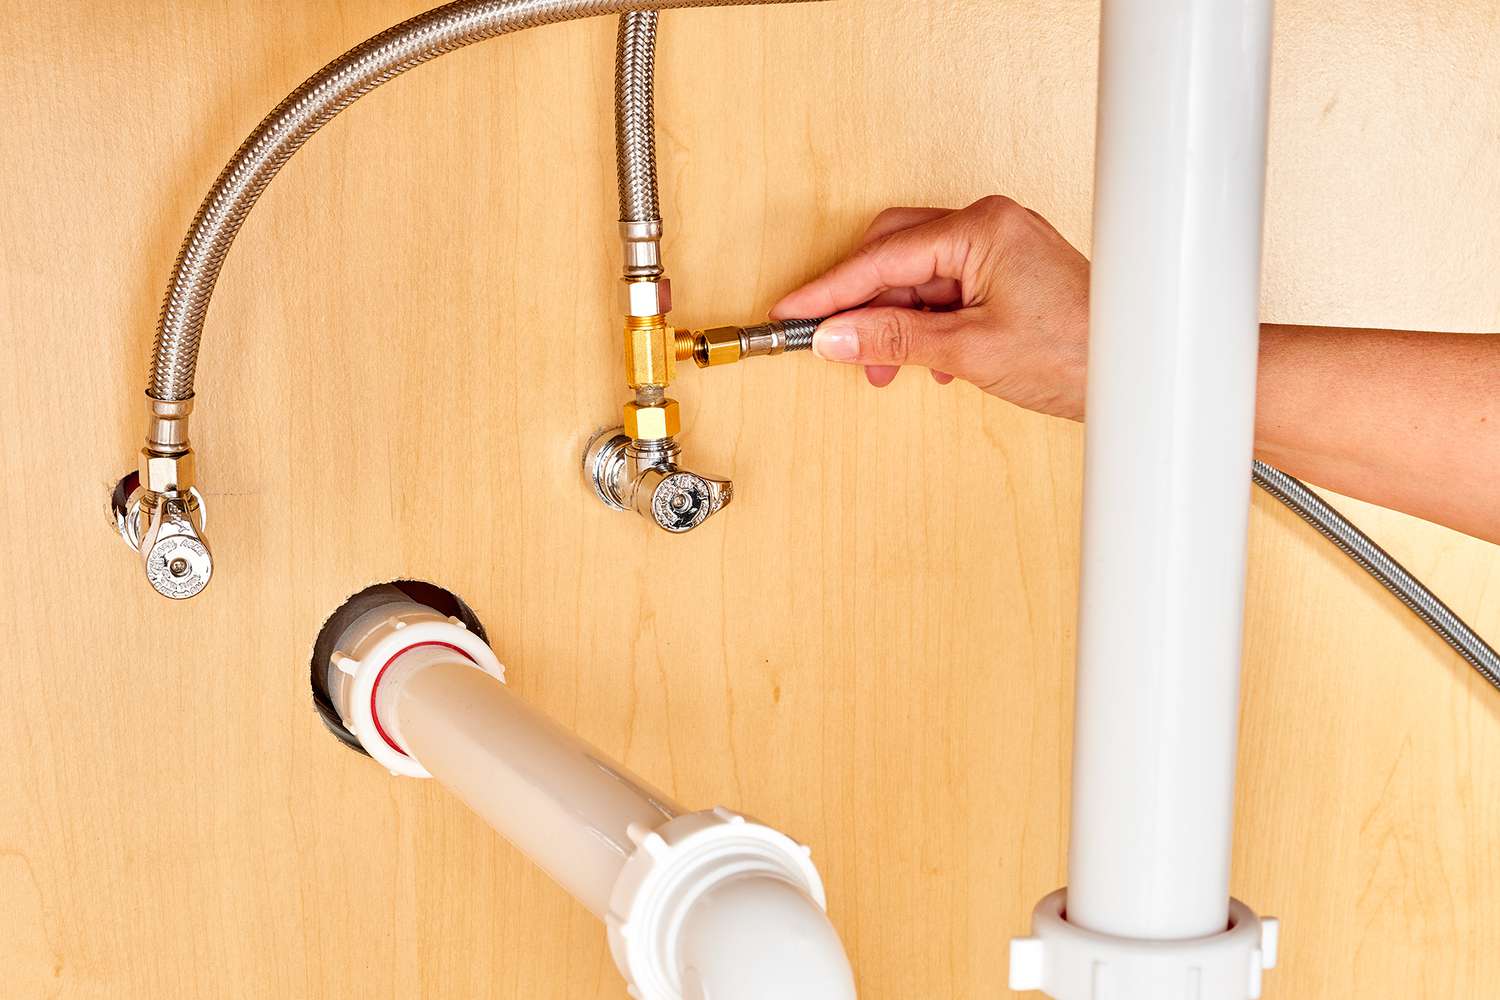
Step One: Finding Your Water Source
This is probably the most crucial step. You need to find a cold water pipe that you can tap into. Look under your sink, or near your existing dishwasher if you have one. You're looking for a copper or PEX pipe that carries cold water. Make sure it's the COLD water line – you don't want frozen drinks coming out of your tap, do you?
If you're feeling a bit unsure about which pipe is which, or if you have old, brittle pipes, it’s always a good idea to consult a plumber at this stage. Better safe than sorry, and a professional can ensure you’re connected to the right line without any nasty surprises later on. Think of it as a pre-emptive strike against potential water woes!
Step Two: Installing the Valve (The Tap to Your Fridge's Thirst!)
Now for the fun part! If you're using a saddle valve, it's a clamp-like device that you fit around your chosen water pipe. You then tighten screws to pierce the pipe and create a small opening. If you're using a tee valve, it's a bit more involved as you'll be cutting a small section of pipe and inserting the valve. Follow the instructions that come with your specific valve very carefully.
Remember that thread seal tape? Wrap it around the threads of any connections you make. This little bit of tape is a superhero when it comes to preventing leaks. Just a few wraps, nice and snug. And when you're tightening connections, don't overtighten. You want them snug, not so tight that you risk stripping the threads or cracking anything. Gentle but firm is the name of the game.
Connecting the Dots: The Fridge's Lifeline
Once your valve is securely in place, it’s time to connect the water supply line. One end of the line will connect to your new valve, and the other end will go to the back of your fridge. Again, use thread seal tape on any threaded connections. Most fridge connections are push-fit or have a compression nut, so they’re usually pretty straightforward.
You'll need to route the water line from the valve to your fridge. Try to keep it tidy and avoid kinks. Many fridges have a designated inlet port on the back. You might need to lift or carefully move your fridge to access the back. If your fridge is a bit of a behemoth, enlist a friend – it’s always more fun (and safer) to move heavy appliances with a buddy!
Testing for Leaks: The Moment of Truth!
This is where you get to be a detective. Once everything is connected, it’s time to turn on the water supply. Open the valve slowly and listen. Do you hear any hissing? Look closely at all your connections. Are there any drips? A tiny drip can turn into a big problem, so be vigilant!
If you see any leaks, turn off the water immediately and tighten the connection slightly. If it persists, you might need to reapply thread seal tape or check if a component is damaged. Don't be discouraged if it's not perfect on the first try. It’s all part of the learning process! Think of it as a puzzle you're solving.

The First Flow: Pure, Cold Bliss!
Once you’re confident there are no leaks, it’s time for the grand finale! Open the water dispenser on your fridge. The first few glasses of water might be a bit cloudy or have some air in them. Just keep dispensing until the water runs clear. This flushes out any air or sediment from the line. And then… pure, refreshing, ice-cold water!
Pat yourself on the back! You’ve just accomplished something pretty neat. You’ve added a fantastic feature to your kitchen that will bring you joy every single day. It’s a small victory, but it’s a tangible improvement to your daily life. You've taken a step outside your comfort zone and discovered that you're capable of more than you thought.
So, there you have it! Plumbing your fridge freezer is not the daunting task it might seem. It’s a practical skill that offers immediate rewards, making your kitchen more functional and frankly, a whole lot cooler. You've learned a new trick, empowered yourself, and unlocked a little piece of kitchen magic. And who knows what other DIY adventures await you? The world of home improvement is vast and rewarding, and this is just the beginning. Keep learning, keep experimenting, and keep making your home the best it can be! You’ve got this!