So, you've got a room with floorboards and a hankering for a fresh new look? Excellent choice! Transforming your space with vinyl flooring over existing floorboards is one of those DIY projects that feels incredibly satisfying. It’s like giving your room a super stylish makeover that’s also super practical. Forget the dust and the drama of ripping everything up; we're talking about a straightforward path to a beautiful, durable floor that’s surprisingly achievable, even for beginners. Think of it as unlocking a hidden potential in your home, adding both charm and resilience without breaking the bank or your back.
The Magic of Vinyl Over Floorboards
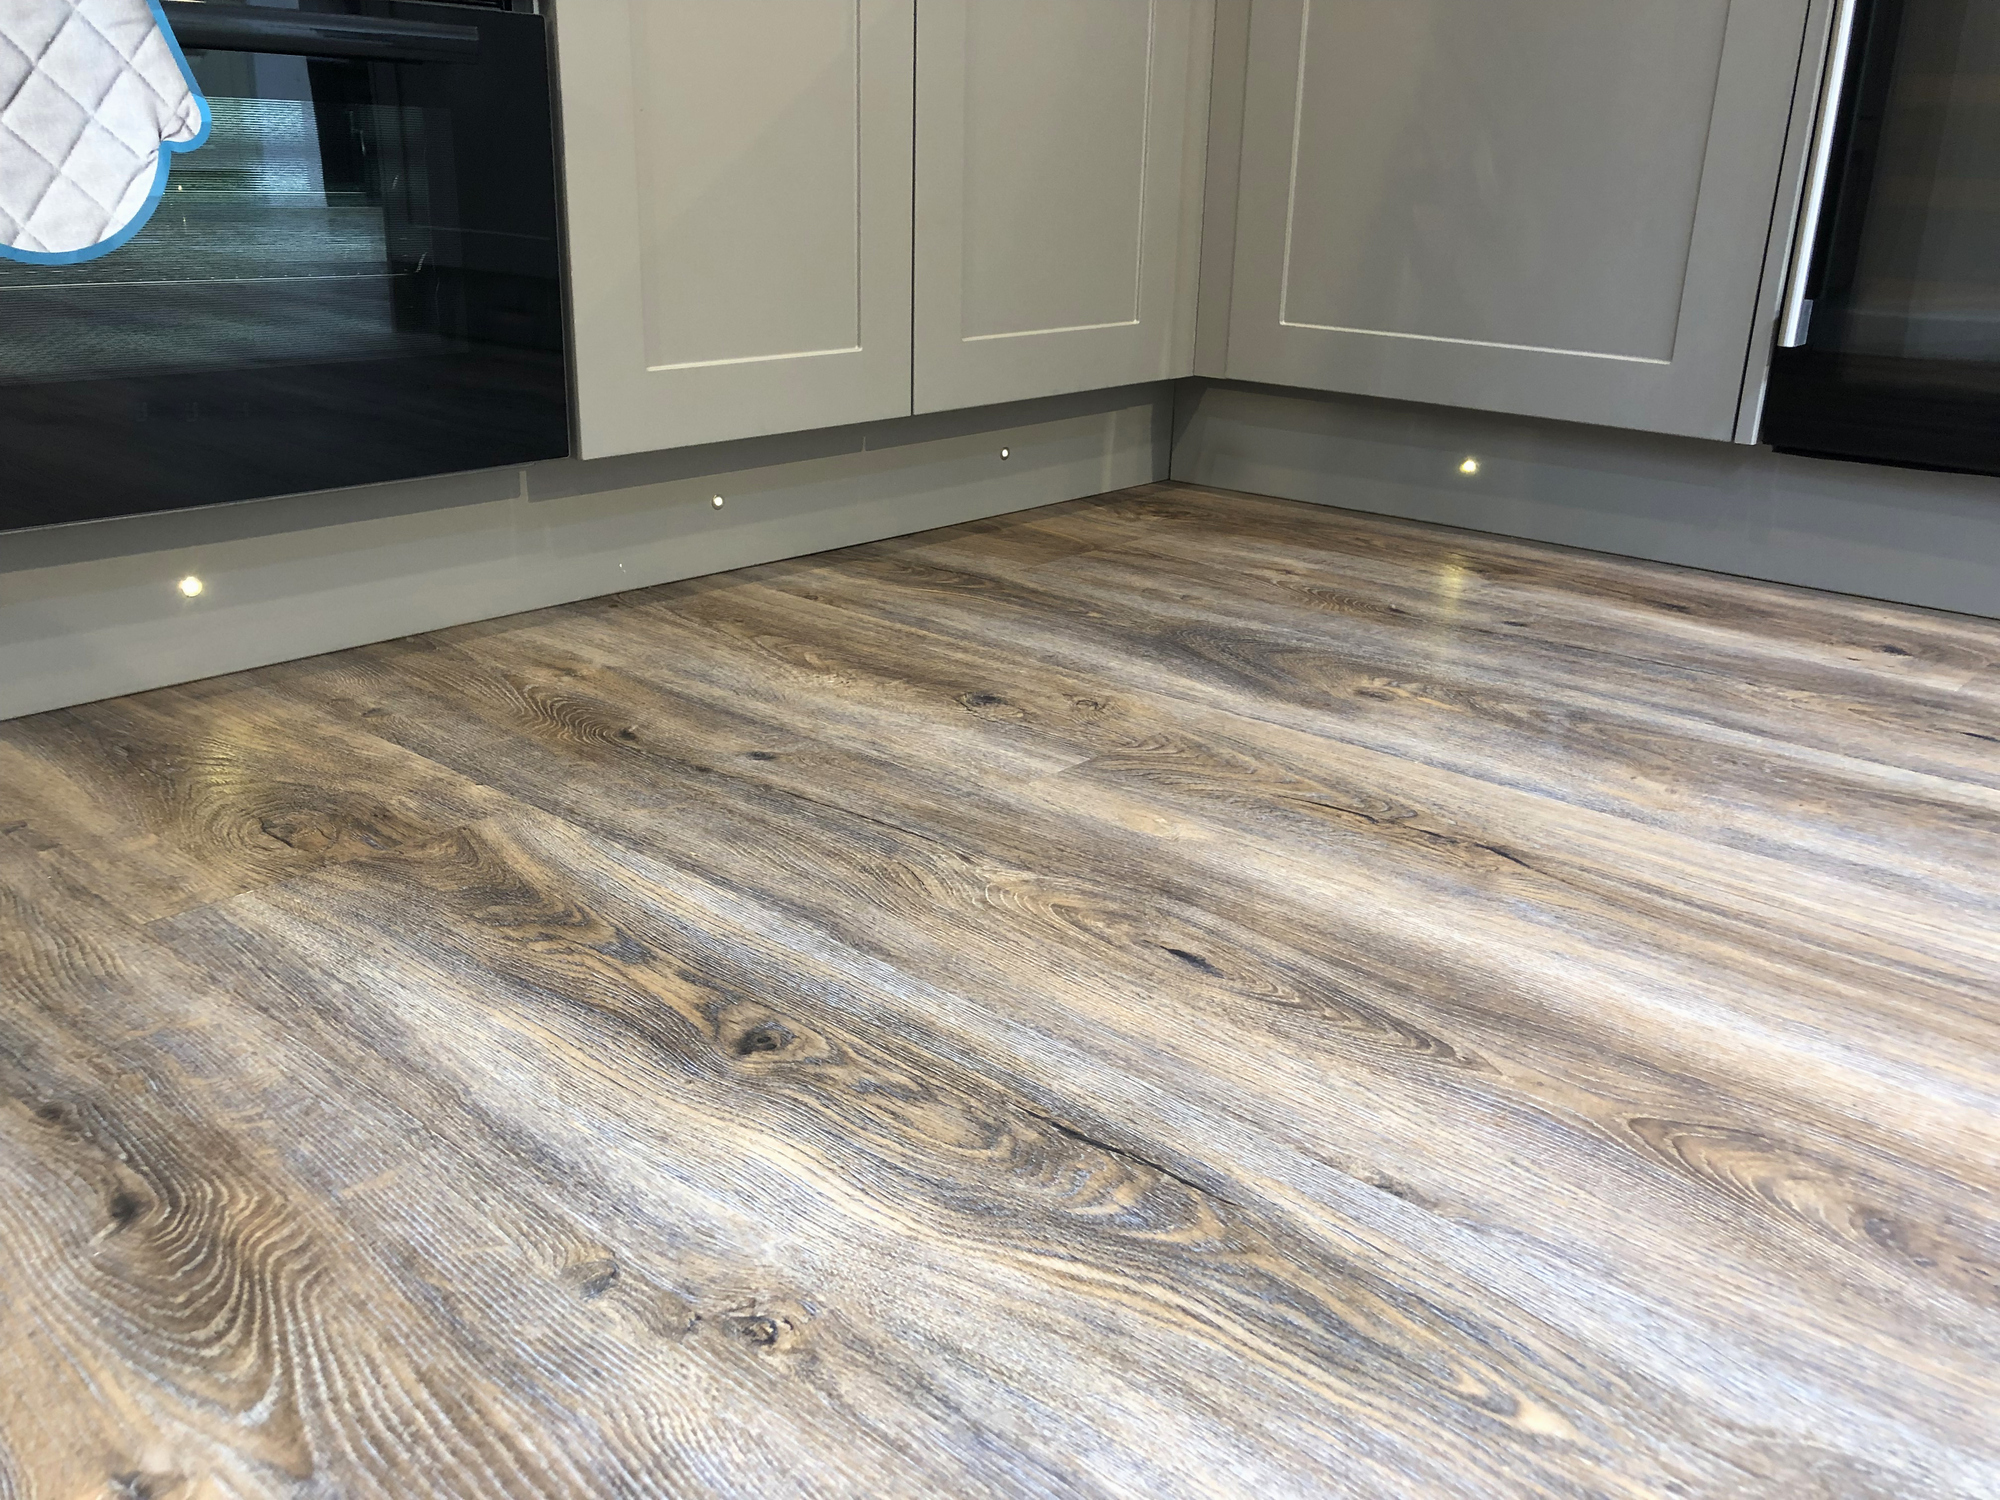
Why vinyl, you ask? Well, vinyl flooring is the superhero of modern flooring solutions for a multitude of reasons. For starters, it’s incredibly tough. Spills, scuffs, pet paws – vinyl can handle them all with remarkable grace. This makes it a fantastic choice for busy areas like kitchens, hallways, and even playrooms. Plus, the sheer variety of styles available is mind-boggling. You can get the look of natural wood with all the benefits of vinyl, or go for a chic tile effect, a cool concrete aesthetic, or anything in between. It’s the ultimate chameleon of the flooring world!
Laying vinyl directly over your existing floorboards is a brilliant strategy because it bypasses the often-messy and time-consuming process of removing old flooring. Your floorboards, assuming they're in reasonable condition, can act as a perfectly good subfloor. This means less demolition, less dust, and significantly less labour. You get a beautiful new floor with a fraction of the effort. It’s a win-win situation!
Getting Ready for Your Vinyl Adventure
Before we dive into the nitty-gritty, let's talk preparation. This is the most crucial step, so don't rush it! Think of it as laying the foundation for your success.
Cleanliness is next to godliness, especially for your subfloor!
How to Lay Vinyl Flooring on Floorboards Made Simple

Your floorboards need to be absolutely spotless. Sweep and vacuum thoroughly, getting into every nook and cranny. Then, give them a good clean with a floor cleaner that's suitable for wood. You want to remove any dirt, grease, wax, or old finishes. If there are any loose floorboards, now's the time to secure them with screws. Gaps between floorboards should be filled with a suitable wood filler. Unevenness is the arch-nemesis of vinyl flooring, so do your best to create a smooth, level surface. If your floorboards are particularly warped or uneven, you might consider laying down a thin layer of plywood or a specific underlayment designed for vinyl to level things out further. This might sound like extra work, but a smooth, stable subfloor is the secret to a professional-looking and long-lasting vinyl installation.
Tools of the Trade
Gathering your supplies beforehand will make the process a breeze. You’ll need:

- Your chosen vinyl flooring (either click-lock planks or sheets)
- A measuring tape
- A utility knife or vinyl cutter
- A straight edge (like a metal ruler or level)
- A chalk line or pencil
- Gloves
- Safety glasses
- Potentially: Underlayment, wood filler, screws, and a putty knife.
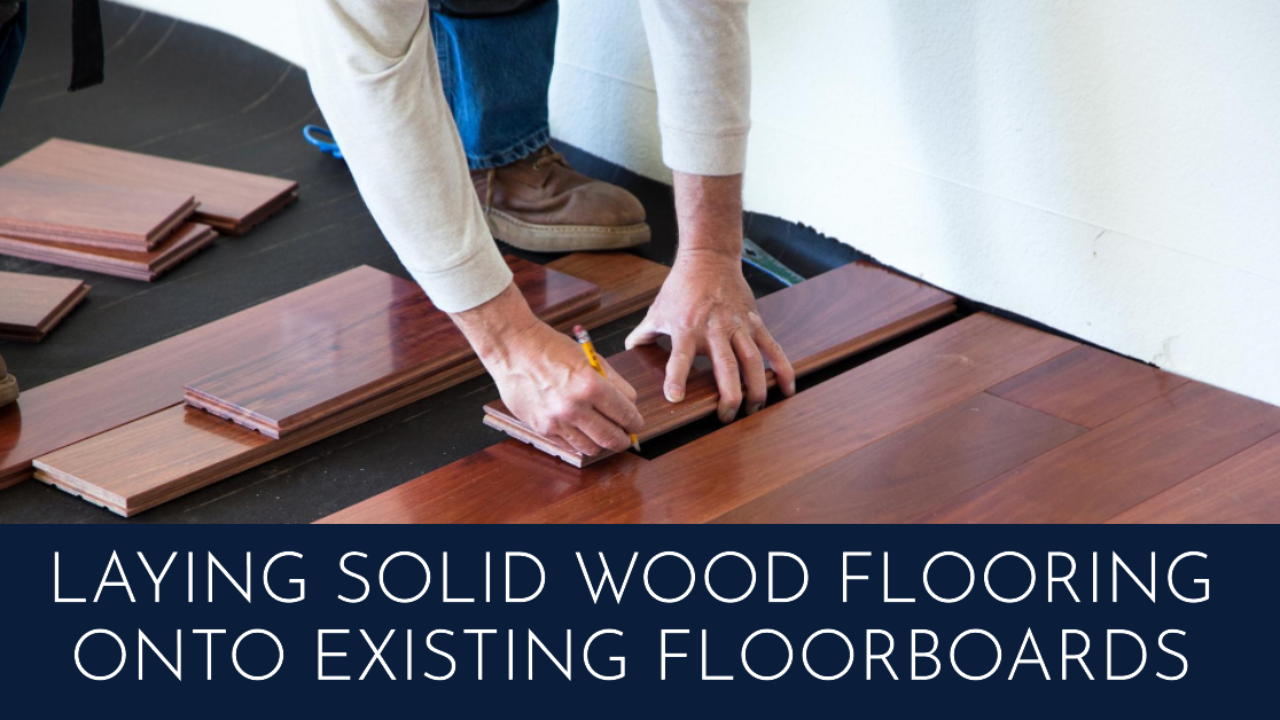
The Laying Down of Luxury
The method of laying vinyl depends on the type you’ve chosen. The most popular for DIYers are click-lock vinyl planks and sheet vinyl. Click-lock is incredibly user-friendly; the planks simply snap together. Sheet vinyl, on the other hand, often requires adhesive. For this guide, we'll focus on the popular click-lock system, as it's generally the easiest for beginners.
Start by laying your first plank along the longest, straightest wall of your room. Make sure the tongue and groove system is oriented correctly – usually, the groove faces the wall. You’ll be working your way across the room, laying plank by plank.

When you get to the end of a row, you’ll likely need to cut a plank to fit. Measure the remaining space carefully, leaving a small expansion gap (typically about 1/4 inch) around the perimeter of the room. This gap allows the vinyl to expand and contract with temperature changes. Use your straight edge and utility knife to make a clean cut. A few passes with the knife should be enough to score the vinyl, and then you can snap it cleanly.
To connect the next plank, you’ll typically angle the tongue of the new plank into the groove of the previous one and then gently press down to lock them together. You might need to use a rubber mallet to tap them snugly into place, but be gentle! For the subsequent rows, you'll stagger the joints to create a more natural and stronger look. This means the starting plank for each new row won't be the same length as the first. It’s similar to laying bricks, creating a much more robust and visually appealing floor.

Continue this process, measuring, cutting, and locking planks together, until you reach the opposite wall. Pay close attention to any doorways or awkward corners. You might need to get creative with your cuts to get a neat finish.
The Finishing Touches
Once the main area is covered, it's time for the final flourishes. Install trim or baseboards to cover the expansion gap around the edges. This gives your new floor a polished, professional look and hides any imperfections. You can reattach your old baseboards or install new ones, depending on your aesthetic.
And there you have it! You’ve just transformed your room with beautiful, durable vinyl flooring laid right over your existing floorboards. Step back, admire your handiwork, and enjoy your fantastic new space. It’s a testament to what a little planning, some elbow grease, and a can-do attitude can achieve. Happy flooring!